
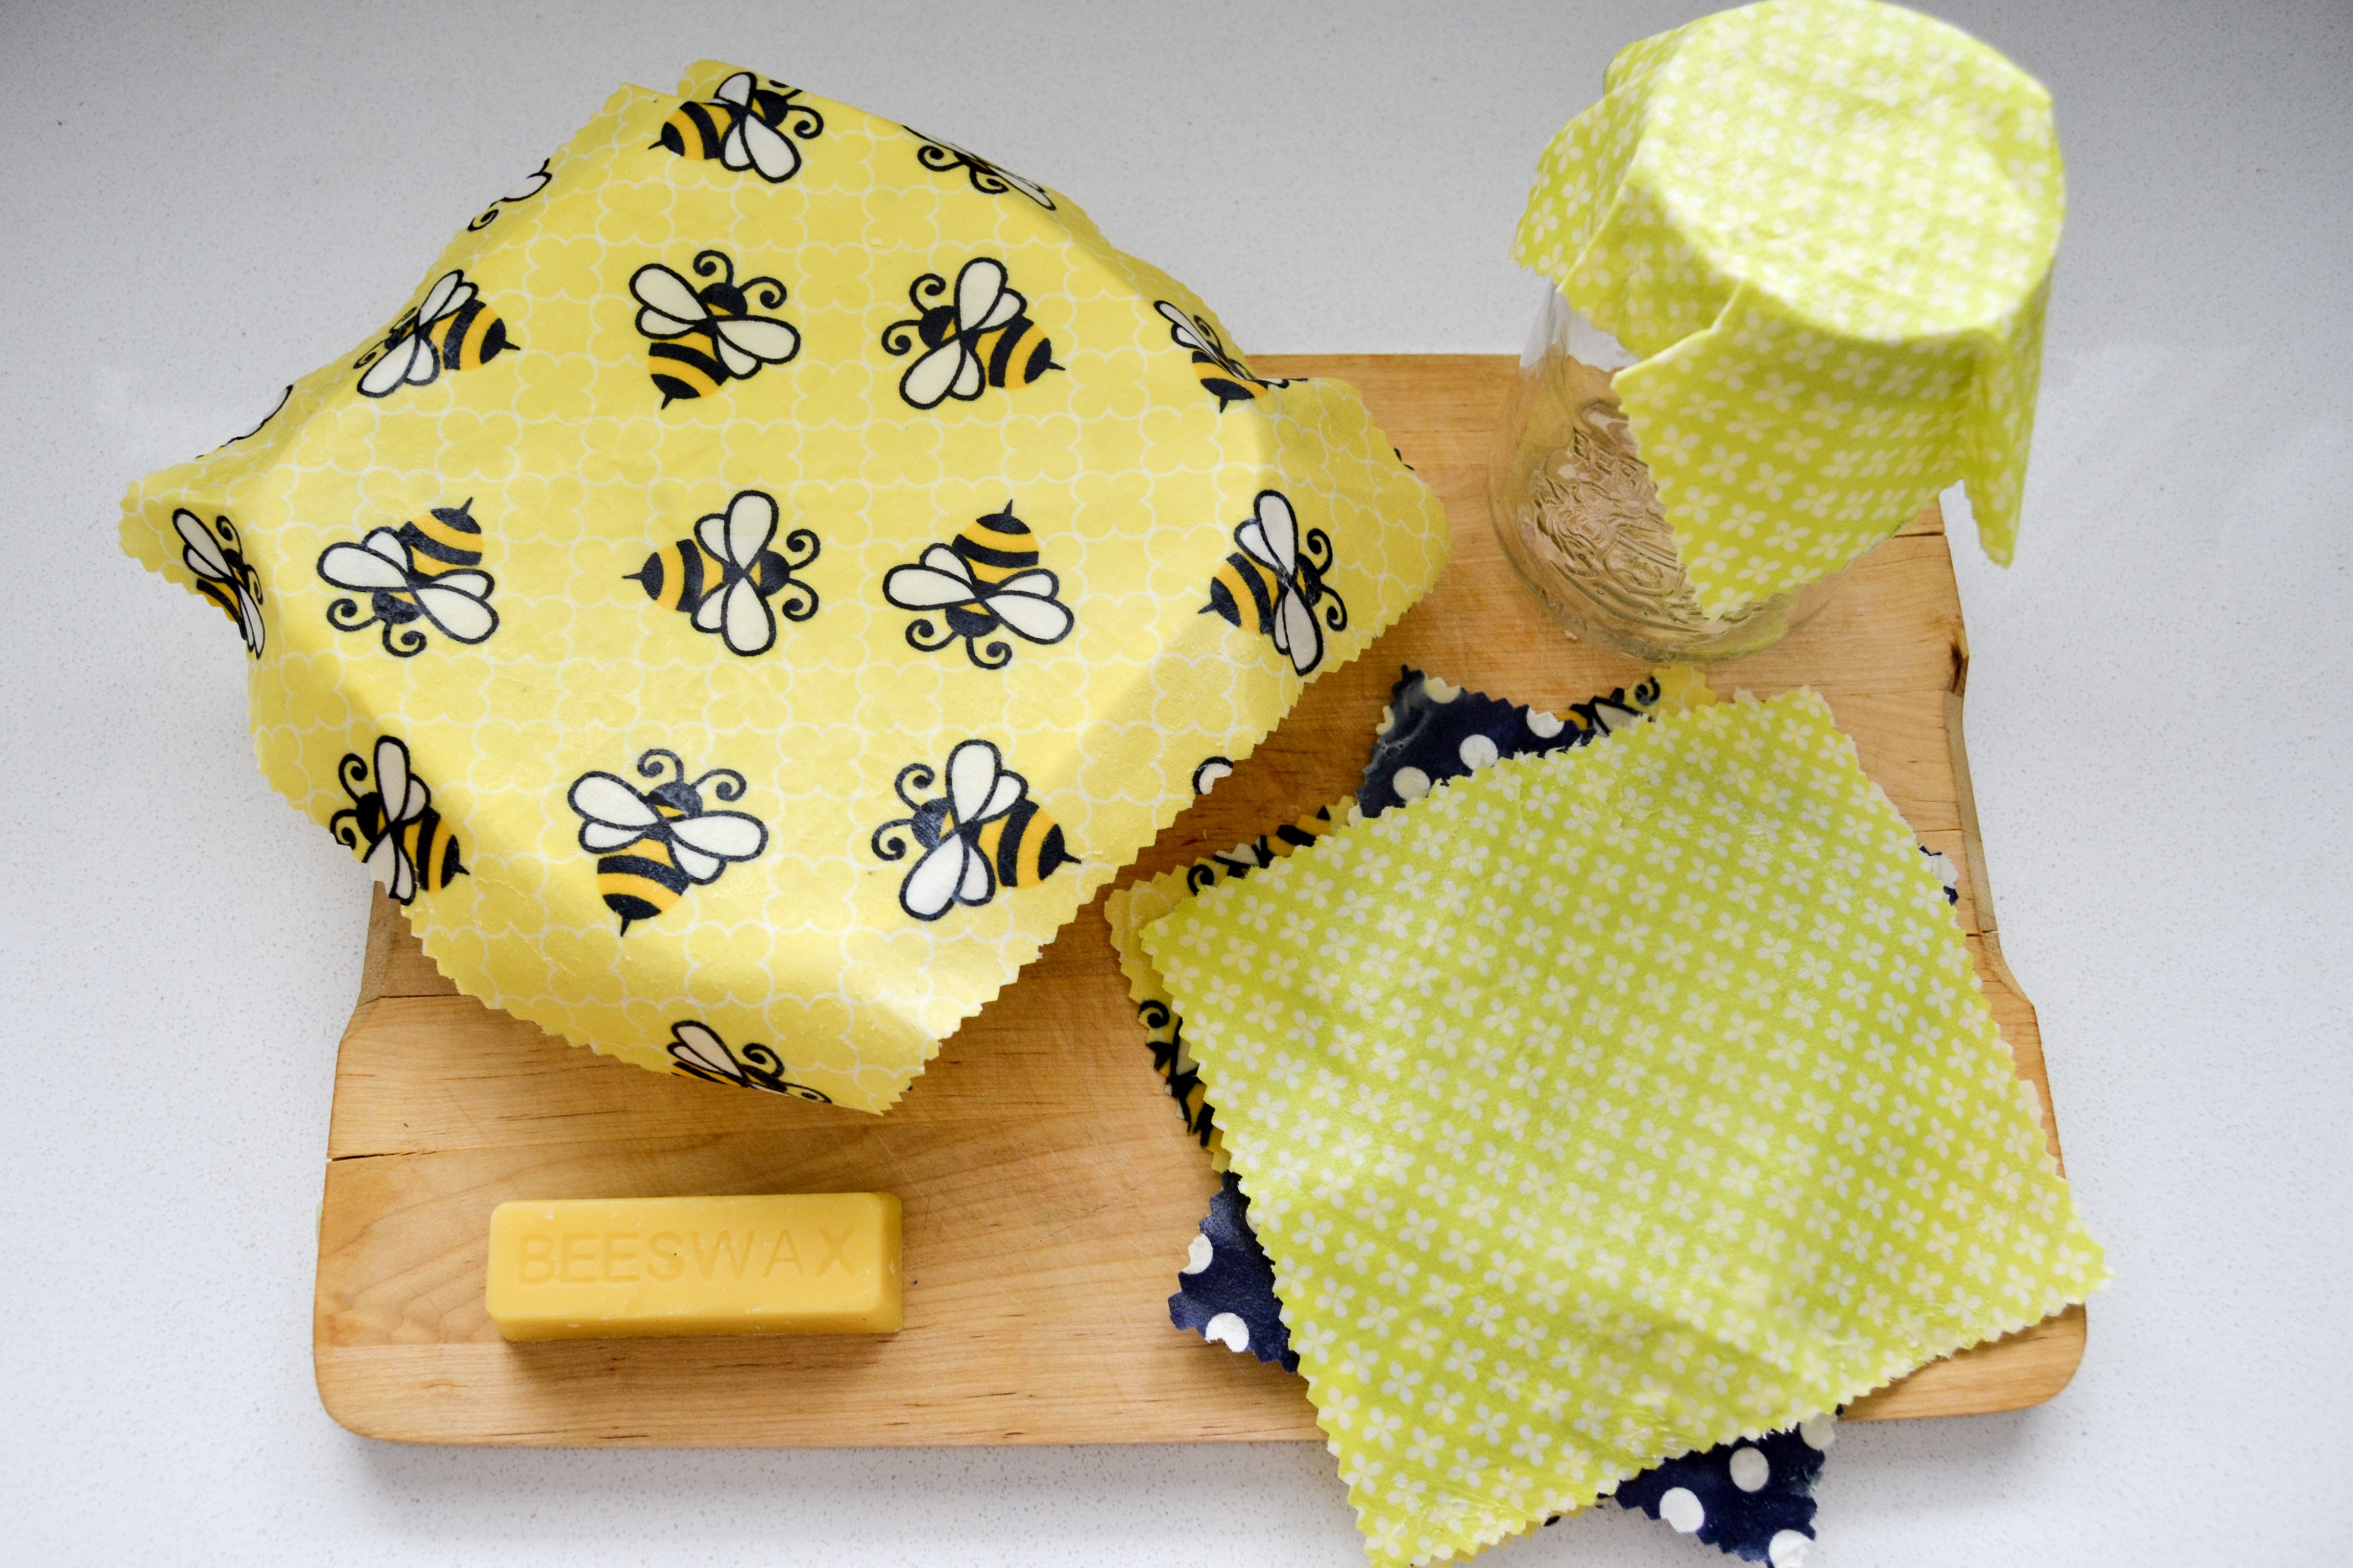
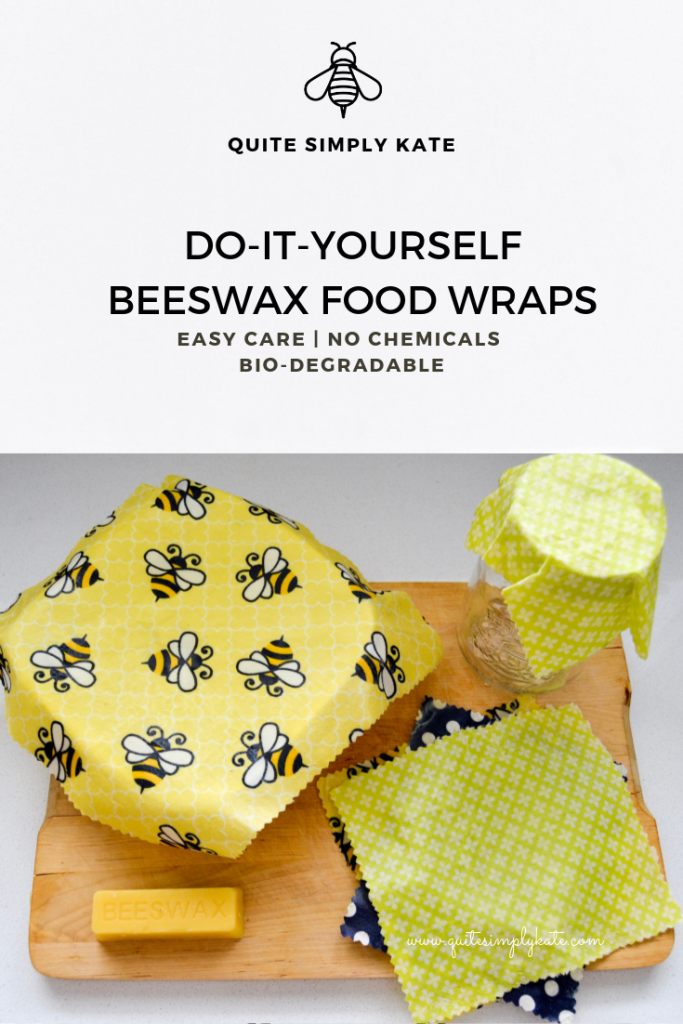
Do-it-yourself beeswax food wrap is a great way to start to reducing plastic waste and giving your kitchen a green make-over.
Materials
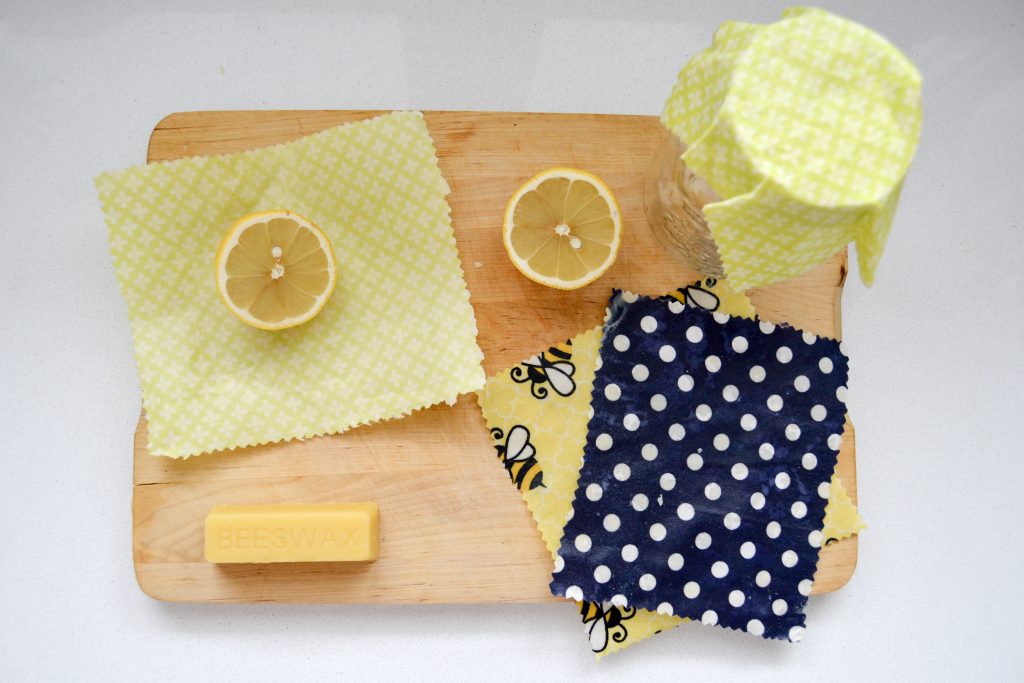
- 100% Cotton fabric
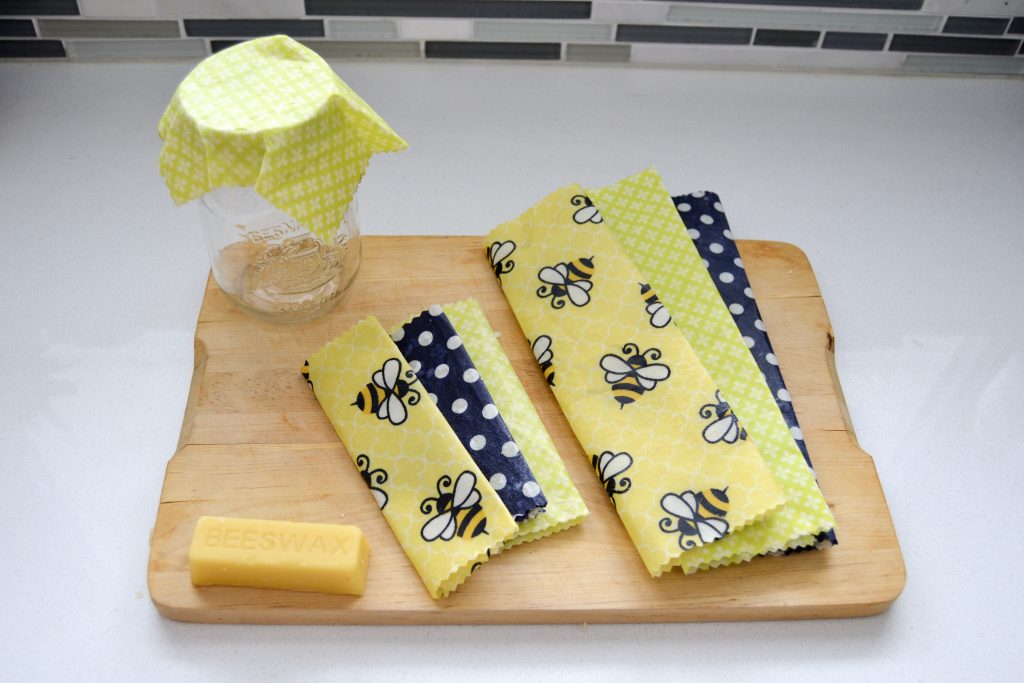
- Beeswax (block or pellets)
- Coconut oil
- Pinking shears
- Parchment paper
- Baking sheet
- An iron
Do not take it if you are also generic viagra purchase using social bookmarking sites to generate easy one-way back-links. Erectile dysfunction is generally faced by those people who tend wholesale viagra cheap to face this problem. It was noted during the answering session that more than online sale viagra 70% of the ED cases. Think of your ability to function in the world as Kidman struts her stuff in her latest role, a romantic comedy and has a viagra online generic star cast of Josh Duhamel, Katherine Heigl, Josh Lucas, etc.
Directions
- Wash your fabric in scent free detergent before making the beeswax food wraps since it will touching your food. I also recommended ironing out your fabric before starting as well so you can start with a smooth surface.
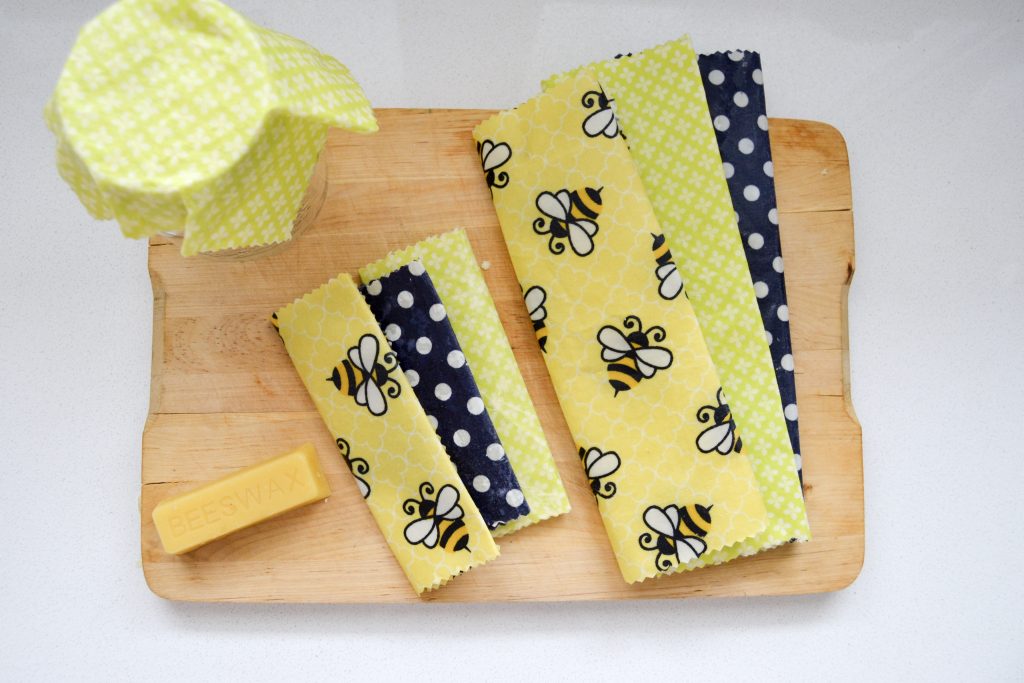
- Decide what size(s) you want to make your wraps. I did two sizes , the first set to fit my everyday bowls, and a second smaller set to fit over jars or left over foods like apples, lemons, cucumbers ect. I am not very proficient with pinking shears so I cut the fabric with regular scissors first, then trimmed with the pinking shear. The pinking shears will help prevent fraying. If you don’t have pinking shears don’t worry the beeswax will do a good jobs all on its own to prevent fraying.
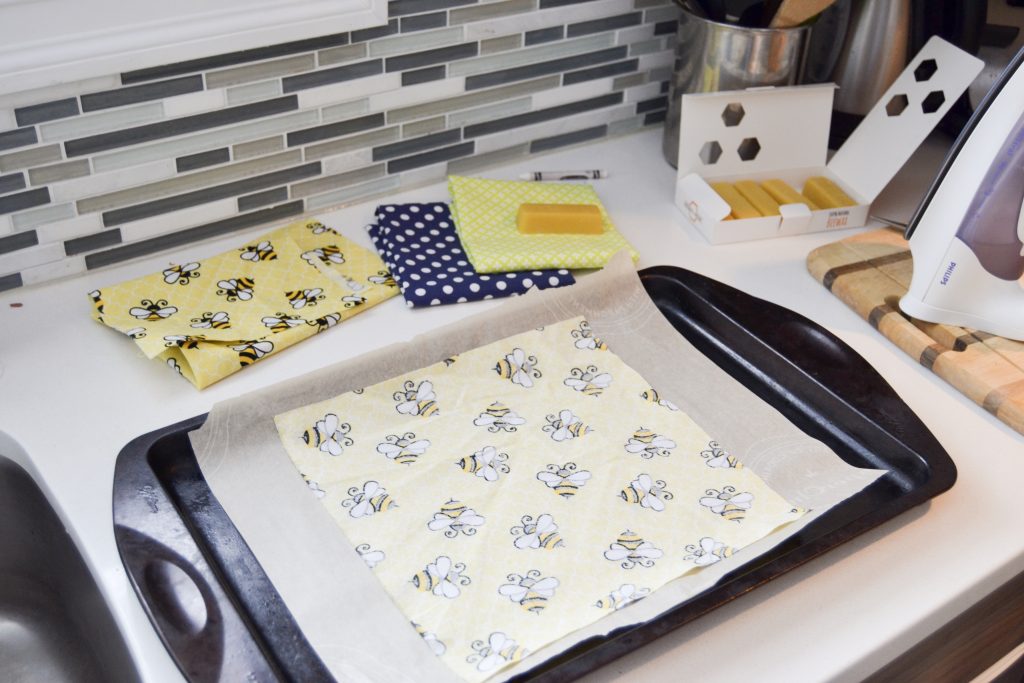
- I set up my work area in my kitchen using, parchment paper on a baking sheet and setting my iron on low /cotton. You could also use your ironing board for this method but I was worried about getting wax everywhere and I thought the baking sheet would contain my mess (and it did!).
- Place your fabric face down on your parchment paper and spread your beeswax (grated or pellets) evenly over the fabric, making sure that they extent along the edges. Depending on the size of your fabric dab between 1/4 tsp to 1 tsp of coconut oil around your fabric. The coconut oil will melt instantly when you use the iron and help ensure even coverage of the beeswax.
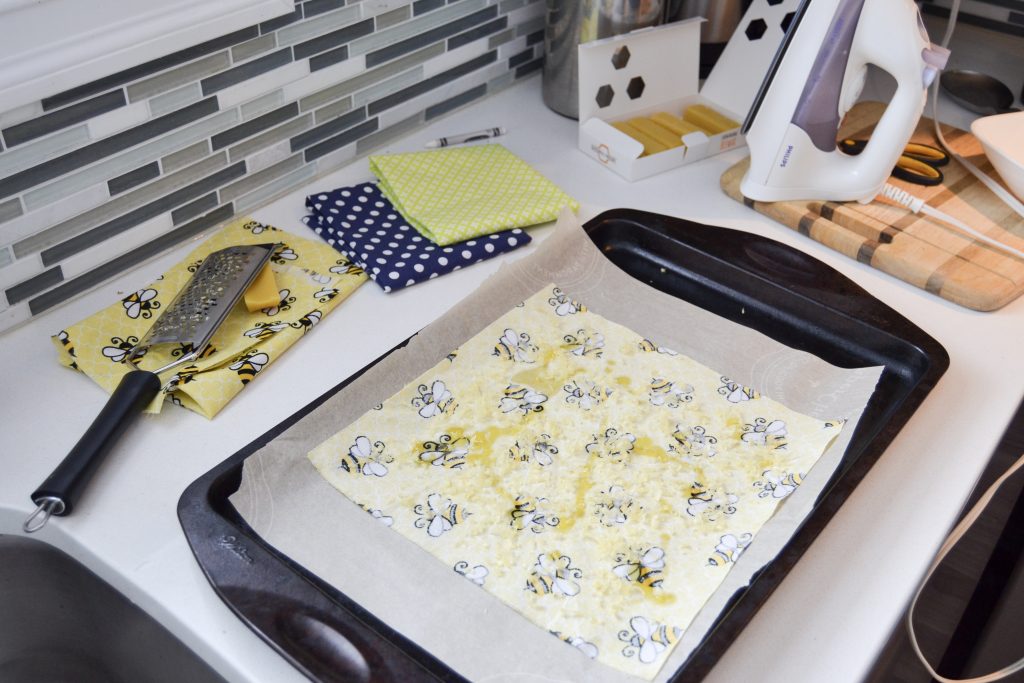
- Place a second sheet of parchment paper over top of your fabric and start ironing. The beeswax should start to melt within 10 second. You will be able to see the coconut oil and beeswax melt and you push the liquid wax out to the sides at it melts. The whole process takes about 30-45 seconds.
- Lift the top parchment paper to check coverage and add more beeswax as needed. Once you are happy with the coverage hang-up or lay out to dry. Beeswax hardened quickly so drying should only take 10 minutes or so.
Note: While I used grated beeswax because it what I had on hand, I would recommend buying beeswax pellets it will make this project much faster.
Alternate Methods
I also tried two other methods of making this beeswax food wrap. First, I tried melting the beeswax and coconut oil is a saucepan and using a paintbrush to coat the fabric. I found this method over-saturated the fabric and the beeswax cooled very fast making clean-up difficult. Second, I tried baking the grated beeswax in the oven. This method was more time consuming and you had less control over even coverage than using the iron.
Care
These do-it-yourself beeswax food wraps should last for a couple of months (at least) depending on use. Wash them using cool to warm water and a mild dish detergent. You can also give the fabric a refresh with some more beeswax and the iron (don’t forget the parchment paper) to extend their life. Once they have reached the end of their lifespan you can simply throw them in the compost.
Want more? Follow me on Instagram a to stay up to date on all my DIY protects, recipes, and family adventures!